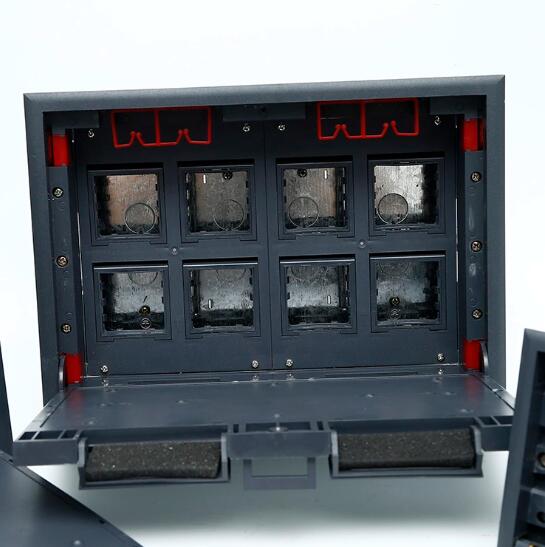
Seamless Integration: A Guide to the Installation Process of Plastic Electrical Plug Floor Outlet Socket Boxes
2024-01-22
Introduction:
Installing electrical components is a crucial aspect of any construction or renovation project. Among the key elements is the plastic electrical plug floor outlet socket box, designed for convenience and safety. In this blog post, we will guide you through the installation process of these boxes, ensuring a seamless integration into your electrical system.
Preparation and Safety First:
Before delving into the installation steps, it's essential to prioritize safety. Ensure that the power to the area where you're installing the plastic electrical plug floor outlet socket box is turned off. Use the appropriate personal protective equipment, such as gloves and safety goggles, to minimize risks during the installation process.
Installation Steps:
1. Choose the Right Location:
Select the optimal location for the plastic electrical plug floor outlet socket box. Consider factors such as accessibility, proximity to electrical devices, and adherence to building codes.
2. Prepare the Floor Surface:
Ensure that the floor surface is clean and free from any debris or obstructions. This will create a smooth foundation for the installation.
3. Mark the Cutout Area:
Place the plastic electrical plug floor outlet socket box on the floor and trace its outline. Use this outline as a guide for cutting the opening in the floor.
4. Cut the Opening:
Carefully cut the marked area using appropriate tools, such as a jigsaw or reciprocating saw. Take precautions to avoid damaging any existing wiring or structures beneath the floor.
5. Secure the Box:
Once the opening is cut, secure the plastic electrical plug floor outlet socket box into the opening. Many boxes come with adjustable brackets or clamps that secure them in place.
6. Connect Wiring:
Connect the electrical wiring to the terminals inside the box. Follow the manufacturer's instructions for proper wire connections. Ensure that the wiring is done according to electrical codes and standards.
7. Secure the Cover Plate:
Attach the cover plate to the plastic electrical plug floor outlet socket box. The cover plate not only adds a finishing touch but also provides protection to the outlets.
8. Test the Outlets:
Before finalizing the installation, turn the power back on and test the outlets to ensure they are functioning correctly. Use a voltage tester to verify that the wiring is properly connected.
9. Secure the Box to the Floor:
If applicable, secure the plastic electrical plug floor outlet socket box to the floor using the provided screws or anchors. This step adds stability to the installation.
10. Final Inspection:
Conduct a final inspection to ensure that the installation is neat, secure, and complies with safety standards. Check for any loose connections or potential issues.
Conclusion:
The installation process of plastic electrical plug floor outlet socket boxes may vary slightly based on the specific model and manufacturer. Always refer to the product's installation manual for detailed instructions. By following these general steps, you can integrate these electrical components seamlessly into your space, ensuring a reliable and safe electrical infrastructure.


