

China Shock Absorber Jounce Bumper: How to Choose the Right One for Your Vehicle
2026-11-16
Choosing a shock absorber jounce bumper often feels like a guessing game—one part number blurring into the next. If you are shopping for a China-made unit, the real question is not just price, but whether the rubber compound, fitment, and durability match your suspension. XIAYI has built its range around that exact problem, making it easier to narrow down the right bumper without wading through vague specs. Here is what actually matters before you buy.
What actually happens when the jounce bumper starts crumbling
At first the damage is easy to ignore. The outer skin of the jounce bumper turns chalky, cracks open, and starts shedding small crumbs from its lower lip. A driver might notice a faint, hollow knock from the wheel arch only when the suspension gets deep into its travel, say over a sharp speed bump or a pothole. The noise isn't metallic yet, so it often gets blamed on a loose trim clip or worn sway bar link.
Once chunks begin breaking away, the axle hits the end of its travel without the progressive cushion it was designed to have. The last couple of inches of compression suddenly become harsh. On hard dips or loaded corners, the control arm or strut hardware can bottom against the chassis, producing a sharp metallic crack that feels like the wheel is being hammered. That impact then travels straight into the strut mount and body, which is how a cheap foam part starts shortening the life of dampers and top bearings.
The crumbled material doesn't always fall clear. It can wedge into the spring seat, sit inside the dust boot, or pack around the lower control arm, where it traps moisture and grit against surfaces that are meant to stay dry. The car may also start to feel inconsistent during braking or turn-in, especially if one side is degrading faster than the other, because the suspension can't load evenly when only part of the original bump stop remains.
Matching the bump stop to your actual suspension travel
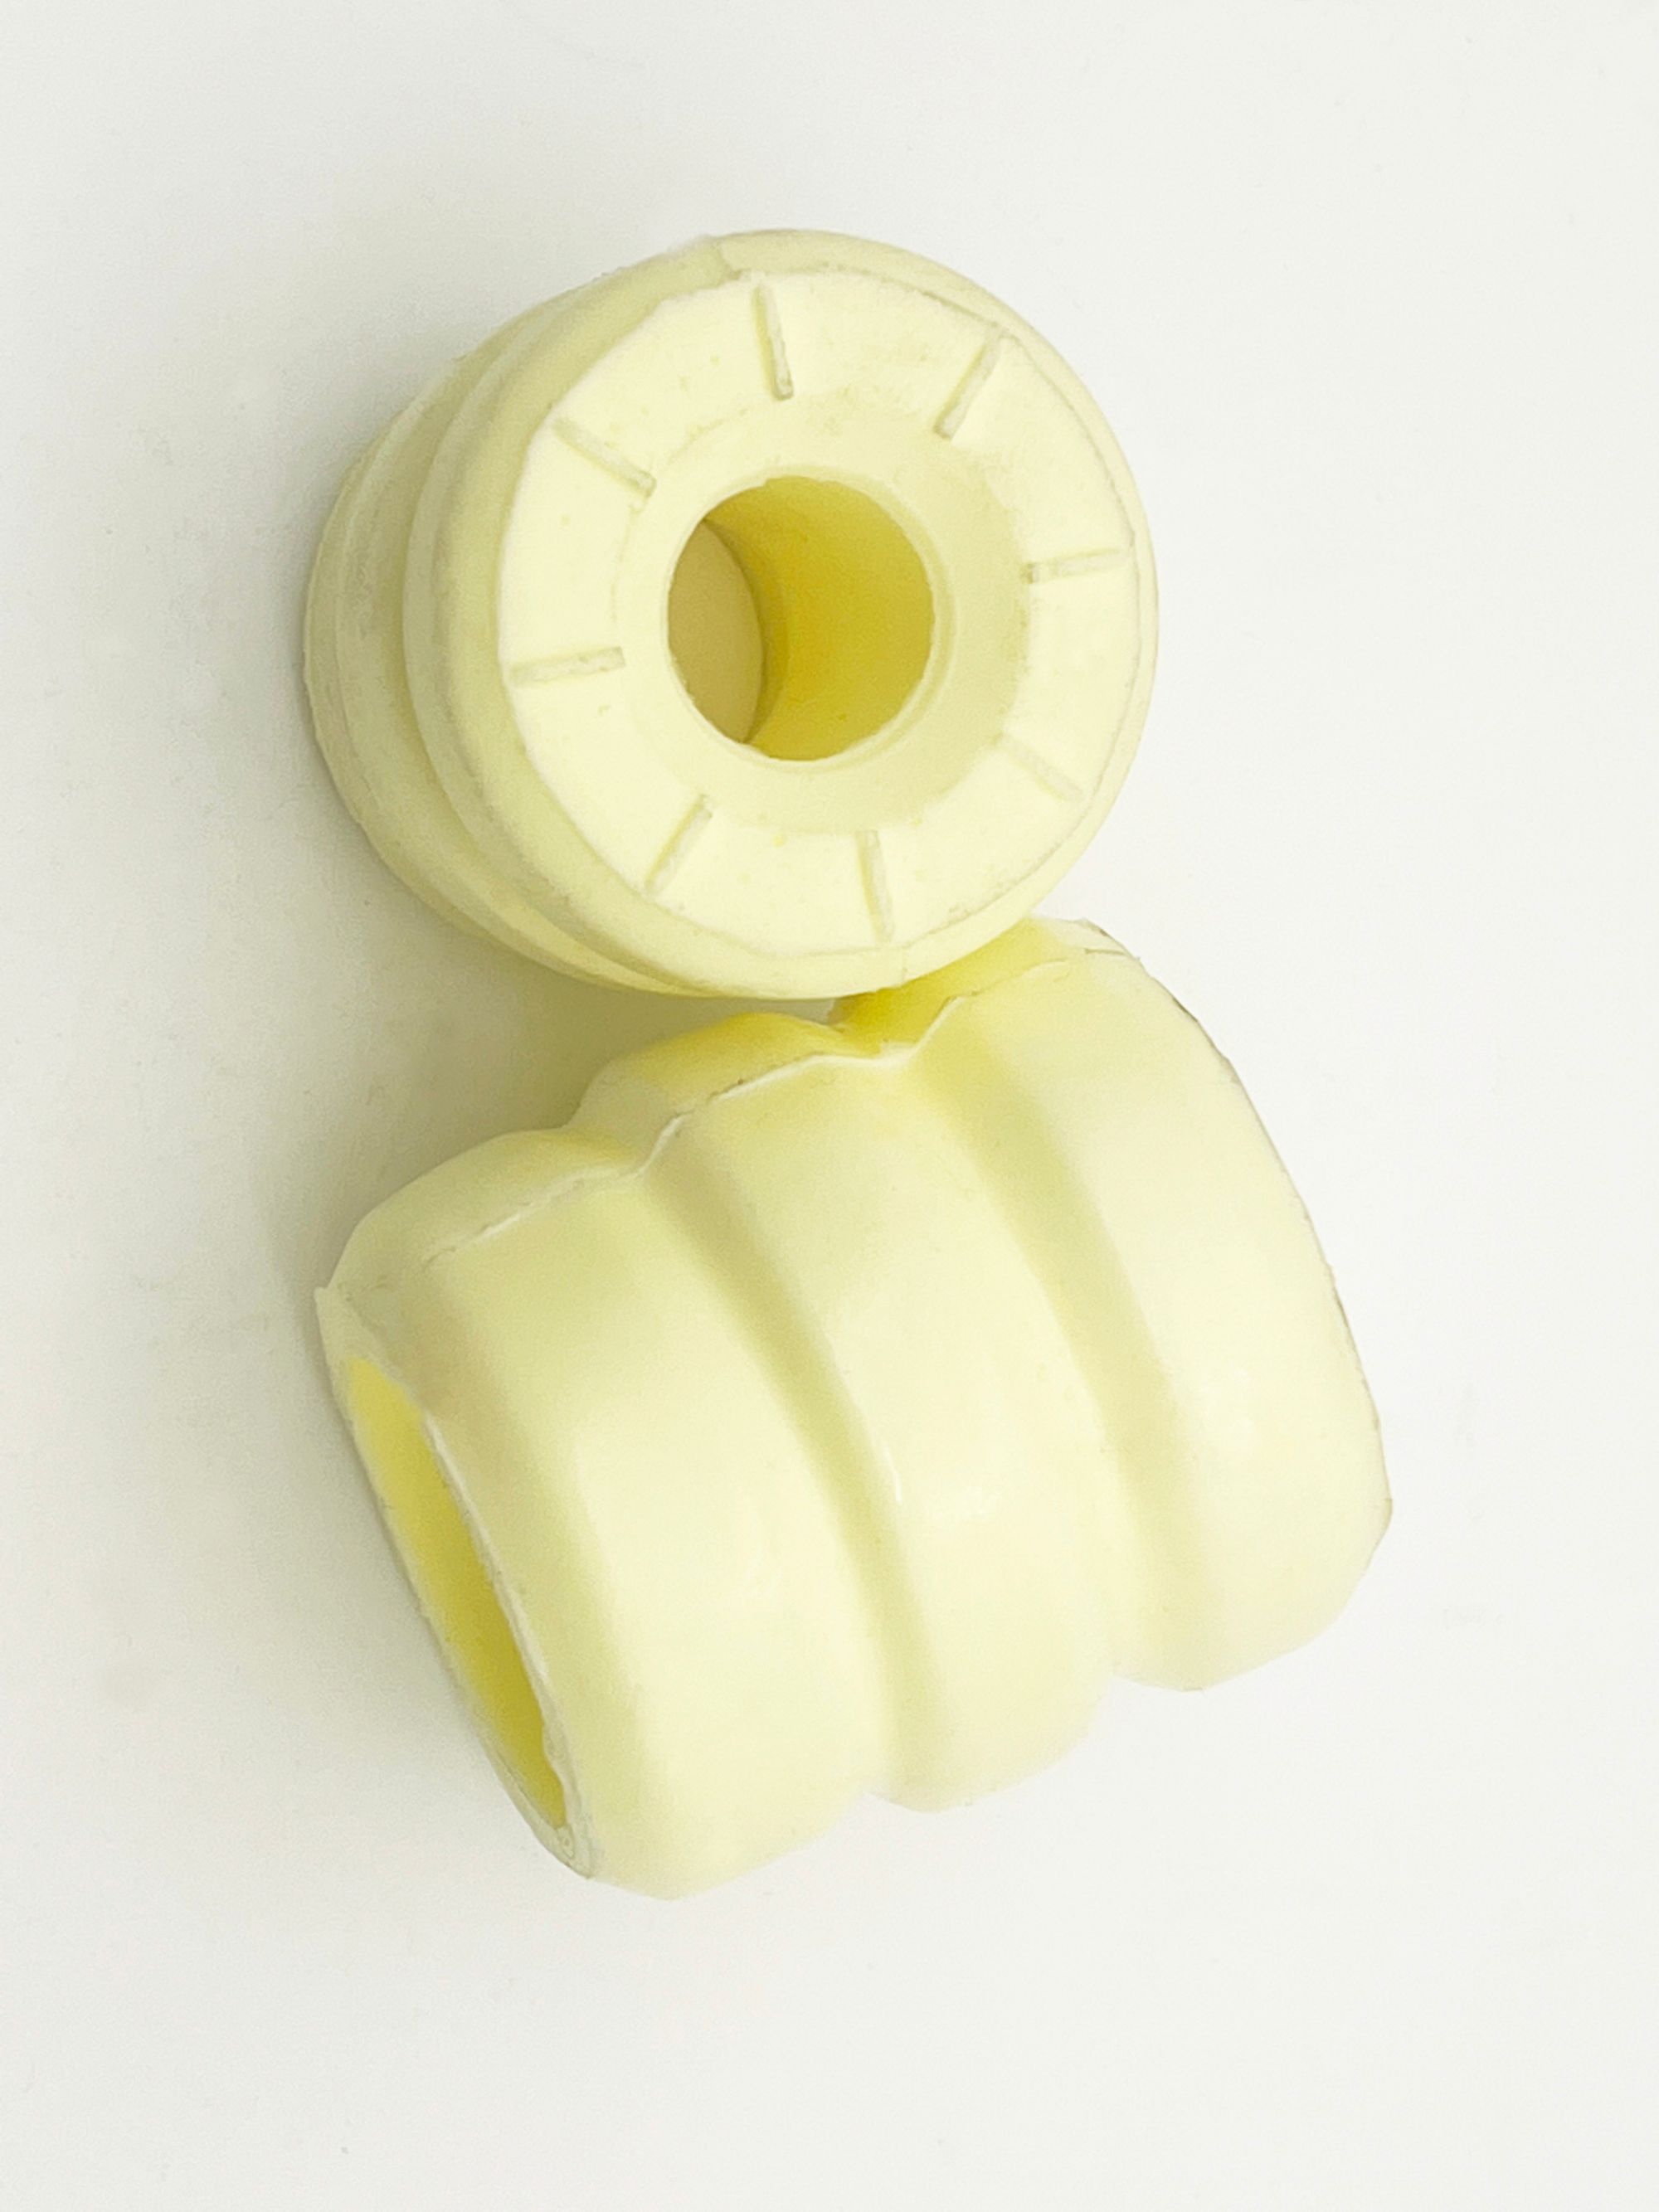
A bump stop works as a secondary spring, not just a cushion, so matching it to actual suspension travel matters more than the catalog listing suggests. Start by measuring the distance from the stop to its strike pad at normal ride height, then cycle the suspension to find how much real compression remains before the shock reaches its internal limit or a tire contacts the body. That measured gap tells you when the stop begins to work. If it engages too late, the load spikes into the chassis; too early and the suspension loses useful movement, especially on rough pavement.
Lifted and lowered vehicles often inherit bump stops that no longer match the new geometry. A lift can leave the factory stop floating too far away, which lets the damper take a hit it was never designed for. A drop can keep the stop partially loaded at rest, so every small ripple feels like a hard edge. Instead of guessing, remove the springs and run the axle or control arm through its full arc. This reveals the true point where movement stops—whether that is the shock bottoming, a tire rubbing the inner fender, or a link binding. Once you know that point, choose a stop length and material that begins ramping up before the hard stop arrives.
Progressive foam and cut-to-fit polyurethane stops give a smoother load curve than a short solid rubber block, but only if they are trimmed and positioned to match measured compression. A slightly taller stop that engages early and builds force gradually usually feels better and protects components longer than a shorter stop that slams at the bitter end. Pay attention to the stop's rate, not just its height, and recheck clearance after any spring change, tire size change, or suspension arm swap because actual travel rarely stays the same once other parts are modified.
Why universal fit usually means less wheel control on rough roads
Universal fit parts usually gain their compatibility by giving something up in the places that matter most on rough roads. Instead of fixed mounting points, you get slotted holes and adjustable links. That might make installation easier, but it also means the suspension geometry is never quite locked in. When the road gets choppy and the suspension cycles quickly, those small adjustments can shift, taking toe and camber along with them. The steering starts to feel vague, and the wheel tugs sideways over ruts instead of staying composed.
Part of the problem is bushing behavior. Original bushings are tuned for a particular vehicle's weight, suspension frequency, and load path. A universal piece has to use a compound and durometer that works okay across many different applications, which leaves it too compliant for some and too harsh for others. On washboard or broken pavement, that mismatch shows up as rapid flex, delayed steering inputs, and a constant need to chase the wheel. The tires spend more time at the edges of their contact patch than centered, so rough-road grip falls off.
Tolerances stack up as well. A part made to fit multiple vehicles carries wider dimensional ranges, and after a few hard miles those ranges turn into play at the joints. That play lets the wheel twitch under load, especially when braking into a bump or powering out of a hole. A vehicle-specific replacement removes that slack by design. The tighter the connection between the steering input and the contact patch, the more predictable the wheel behaves when the surface under it is anything but smooth.
Reading old wear marks before you order another set
Look at the tread patterns you have already worn down, not just how much rubber is left. A tyre that has scrubbed away more on one shoulder than the other is telling you about alignment, pressure habits, or a road surface you keep meeting at the same angle. That uneven polish matters more than a generic mileage chart when you are picking the next set, because the same forces will go to work on your new rubber within weeks.
Run a bare hand over the old contact patch before you click order. Heat cracks near the sidewall, a feathered edge on the trailing blocks, or a smooth central band with sharp outer tread all point to different fixes. If the centre is bald but the edges are deep, you are likely overinflated for the temperature you ride in. If the front and rear show completely different wear signatures, consider changing your stagger or rebound before spending more on the same compound.
Use the worn set as a map of your actual riding routine, not the routine you imagine. A street tyre that only sees highway commuting will wear into a flat, predictable stripe; a weekend canyon tyre will show diagonal scuffing and hot-tear texture. Matching the next purchase to the shape of the old wear means you stop throwing money at a spec sheet and start buying what your bike is already telling you it needs.
Material differences that appear long before the price gap does
A cheaper and a costlier version of the same item can sit side by side and look nearly identical on a shelf, yet the moment they are handled the divergence starts. The zipper on one moves with a slight resistance that feels deliberate rather than stiff, the stitching on the other already shows tiny gaps where the thread will later lift. These are not dramatic failures; they are the early signals of how the material was chosen and how much tolerance was allowed in assembly. Long before the price difference turns into a measurable gap in lifespan or repair costs, the seams, edges, and fasteners have already revealed which one was built to be replaced and which one was built to be kept.
That early gap also shows up in the quieter parts of a product. Lining fabric, the underside of a strap, the back of a button, the way a sole flexes at the ball of the foot: these details absorb the same daily friction whether the item is expensive or not, but they respond differently. One material dulls, pills, or cracks because it is a thin imitation of a more expensive original. The other may scratch or crease but tends to settle into a patina instead of breaking down. If you pay attention before the first replacement is needed, the cheaper option often gives itself away through a smell, a slight tackiness, or a loose weave that never quite lies flat.
The price gap is usually the last piece of evidence, not the first. By the time the lower-cost item needs a new sole, a tightened hinge, or complete replacement, the higher-cost one has likely passed through the same months with only expected wear. What looked like a small saving at checkout becomes visible later as peeling edges, tarnished hardware, or fabric that loses its shape after one wash. The material differences were there from the start, waiting in the hand feel, the weight, and the sound a drawer makes when it closes.
Checking compressed clearance before the axle hits the frame
A quick way to get a false clearance reading is to leave the springs in place and cycle the suspension only partway. For a useful check, pull the coil or leaf springs, support the frame on stands, and jack the axle straight up until the bump stop is fully compressed or the shock reaches its closed length. Watch the gap between the axle tube, differential cover, steering components, and the nearest frame rail. If the axle kisses the frame before the bump stop does, you already know the suspension is relying on metal-to-metal contact as a hard limit.
The measurement that matters is not the gap at ride height but the remaining distance at full stuff. Different setups hide problems in plain sight: a larger tire may clear at static ride height but swing into the frame rail at full compression with the wheels turned, or a raised track bar bracket may close the gap on one side only. Checking straight ahead is not enough. Move the steering through full lock in both directions while the axle is at compressed height so you catch the corner of the diff cover or tie rod end before it gets a chance to self-clearance on a hard landing.
Once you find the tightest point, add clearance in the right order. Shortening the bump stop is often the cheapest solution, but if that puts the shock at risk of bottoming out first, a taller bump stop or a different mounting location is a better fix. Recheck with the suspension fully crossed up, not just both sides compressed evenly, because frame clearance can disappear when one side is stuffed and the other is drooped. A small change in axle position under that kind of twist changes the relationship between the housing and the frame far more than most static measurements suggest.
FAQ
You lose the extra cushion that stops the suspension from slamming through its travel on hard hits. Over time that shock gets passed into the strut mounts, control arm bushings, and even the body, so small impacts start feeling harsh and bigger ones can cause real damage.
It matters more than people expect. Rubber is quieter and softer, which works well for smooth daily use. Polyurethane is firmer and takes abuse better, but it can transfer more noise into the cabin. Microcellular foam sits in between and is often used on newer vehicles for a more progressive stop.
Measure the exposed strut or shock shaft diameter first, then check the gap between the suspension stop plate and the top of the strut body at normal ride height. Cross-reference those numbers with the vehicle year, make, and model. If the old one left chunks behind, remove all of them so the new bumper seats correctly.
Plenty are made in the same factories that supply major brands, so quality can be solid. The key is to look for consistent surface texture, clean molding without deep voids, and a durometer rating that matches the original part. Buying from a supplier that lists actual material specs is usually safer than chasing the cheapest listing.
Not always. A very hard bumper can make the last part of suspension travel feel abrupt and spike loads into the chassis. On bad roads you want something firm enough to prevent bottoming but progressive enough to absorb the hit, so matching the bumper to your spring rate and vehicle weight matters more than just picking the stiffest option.
If the rear end bottoms out frequently with normal cargo, or you see shiny contact marks on the axle and frame, the bumper is likely compressing too far too early. In that case a higher-density foam or a slightly taller polyurethane bumper can give you more usable travel before harsh metal-to-metal contact.
It acts as a secondary spring and a travel limiter. The main spring absorbs most of the hit, but at the very end of compression the bumper cushions the spike so the shock shaft does not slam into its internal stop. A degraded bumper makes that final moment much harsher.
Yes. They usually wear at nearly the same rate, and replacing only one can create uneven compression behavior from side to side. That difference shows up as a slight diagonal pitch over sharp bumps and can make the steering feel less predictable.
Conclusion
A crumbling jounce bumper does more than create a rough ride. Once the foam or rubber splits, the shock absorber becomes the next part to take the hit at full compression, and that usually ends with a dented shaft, a leaking seal, or a cracked mount. Before ordering a replacement, look at the old wear marks. If the contact patch is off-center or barely visible, the previous stop was either too short, too soft, or sitting in the wrong location. Matching the stop to actual suspension travel matters more than matching it to the year and model. A lifted truck or a car with sagging springs changes the distance to the bump zone, so the chosen jounce bumper should be sized for the real compressed gap, not just the brochure spec.
Universal-fit parts often leave too much room for movement, and on rough roads that translates into less wheel control because the stop compresses unevenly or pops out of place. Small differences in material tend to show up long before price becomes the deciding factor: cheap rubber hardens, cracks, and turns brittle in cold weather, while a denser microcellular urethane keeps its rebound and stays quieter. Before you install anything, cycle the suspension to full bump and check the clearance between the axle and the frame. The jounce bumper itself needs space to compress, so if the axle touches the frame first, the new part will be destroyed quickly and the shock will absorb the leftover impact.
Contact Us
Contact Person: Leela
Email: [email protected]
Tel/WhatsApp: 8613586885132
Website: https://www.xiayishockparts.com